



Start with a draining inner pot and a decorative outer pot
For ordinary houseplants grown in potting medium, use a decorative pot without holes as an outer cover, with a draining growing pot inside. Drainage holes in the inner pot are only part of the arrangement: water collected in the outer pot must still be removed so the root ball does not remain submerged.
In this article
- Start with a draining inner pot and a decorative outer pot
- Check four things before choosing the cover
- Why stones are not a substitute for drainage holes
- At each watering, check need first and remove the surplus
- Copy this planter and floor checklist
- Floor protection takes more than a mat
- Common questions
- Plants and trays for a workable drainage setup
This guide concerns conventional pots and covers, not purpose-designed hydroponic or self-watering systems. Those have their own water-level, medium and operating requirements. Browse large floor plants first if needed, then choose the cover around the actual inner-pot dimensions.

Check four things before choosing the cover
- Allow both fitting and removal. Check the inner pot’s widest rim, the outer opening and any narrowing below it. A very tight fit can prevent inspection and drainage.
- Keep collected water visible or accessible. Do not permanently seal the inspection space with decorations. Surface dressing should also allow the medium to be checked.
- Provide stable support. Any support used to raise the inner pot must suit the load, remain level and leave drainage holes open. An unstable stack is unsuitable, and raising the pot does not remove the need to empty collected water.
- Plan a workable draining method. A large plant may be too awkward to lift at every watering. Decide who can handle it, where water will be removed and whether a different container arrangement is needed before buying.
Why stones are not a substitute for drainage holes
A stone layer does not give water an exit from a closed container; it can simply hide it from view. The University of Maryland’s repotting guide specifically advises against filling the bottom of a growing pot with gravel. The relevant questions are moisture and air around the roots, and where excess water can leave.
A towel, sponge or smaller pour does not automatically make direct planting in a closed pot easy to control. If a plant is already growing that way, discuss its medium and a suitable change of container with the supplier. Do not pull out a heavy root ball or drill a planted ceramic container as an improvised repair.
At each watering, check need first and remove the surplus
Before watering: assess accessible moisture against the species’ needs and check for collected water. A dry surface does not establish that the whole root ball is dry, and a dry outside wall says nothing about the water inside the cover.
During watering: if the inner pot can be moved safely, water it evenly in a suitable draining area. Return it to the emptied cover once excess water has drained and obvious dripping has stopped. Heavy or fixed arrangements need an agreed method and someone able to handle them safely, not one person tilting a large planter.
After watering: check the cover and floor, then look again later for delayed drainage. Medium and container design affect the time required, so a fixed number of minutes is not a guarantee. The University of Maryland’s watering guide also advises against leaving drained water in saucers.
Copy this planter and floor checklist
| Location | Check | If there is a problem |
|---|---|---|
| Inner-pot base | Drainage holes exist and remain open | Address the obstruction rather than adding water blindly |
| Inside the cover | Surplus water can be inspected and removed | Arrange safe emptying and review the setup |
| Pot walls and seams | No cracks, leaks or persistent dampness | Remove from vulnerable flooring and check material suitability |
| Between base and floor | No trapped water; protection suits the floor finish | Dry and follow the flooring supplier’s advice |
| Support or stand | Stable, compatible and safely accessible | Stop handling an unstable arrangement and seek help |
| After-watering review | Record date, drainage and any leakage | Resolve the problem before repeating the same routine |
Floor protection takes more than a mat
Labels such as ceramic, cement or stone-effect do not establish watertightness. Check for cracks, seams and seepage, and do not treat a container as a water reservoir unless its suitability is confirmed.
A protective pad can also trap moisture, stain or abrade a floor. Choose protection appropriate to the finish, follow its manufacturer’s guidance and retain access for inspection and cleaning. If a water mark appears, deal safely with the moisture and identify the source rather than covering it with a rug. No container arrangement replaces routine checks.
Common questions
Can I leave a little water to evaporate?
Empty surplus water from an ordinary cover pot, particularly where it reaches the inner-pot base. Hidden water should not be assumed to evaporate promptly.
What if the plant is too heavy to lift?
Stop and arrange a setup that can be inspected and drained safely. Share container measurements and photographs with the supplier. Never lift the whole arrangement by the plant’s stem.
Do drainage holes guarantee healthy roots?
No. Medium condition, watering need, light and trapped water still affect the root environment. Holes are one part of the setup, not an exemption from checking it.
Consult the care encyclopedia for the species, and record the container and drainage method alongside your watering observations.
Plants and trays for a workable drainage setup
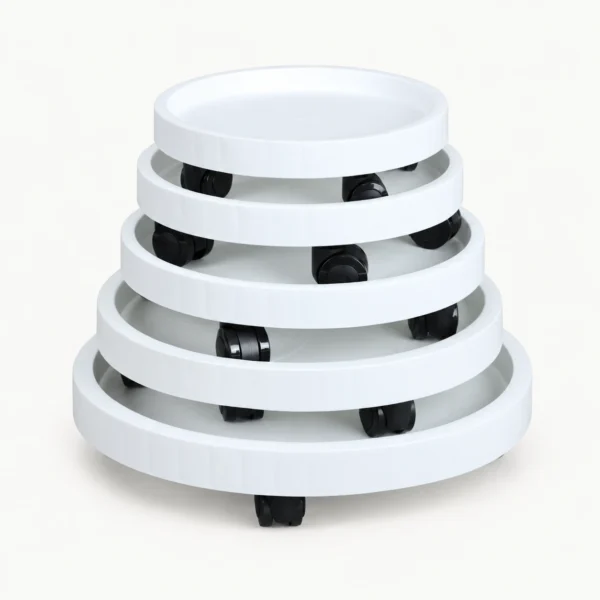
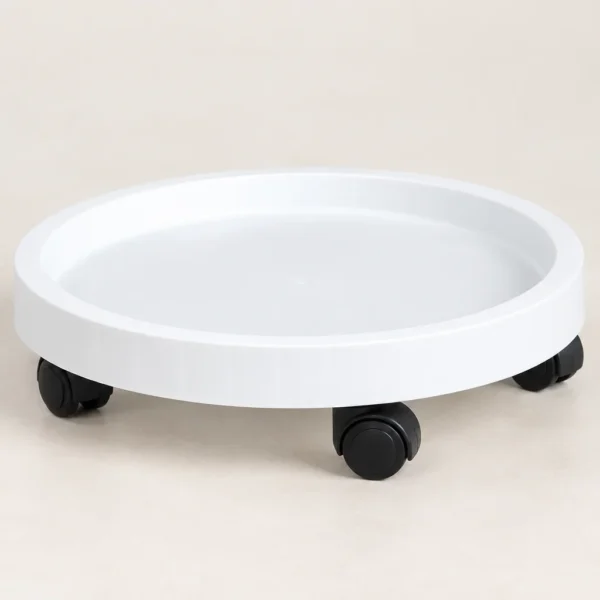
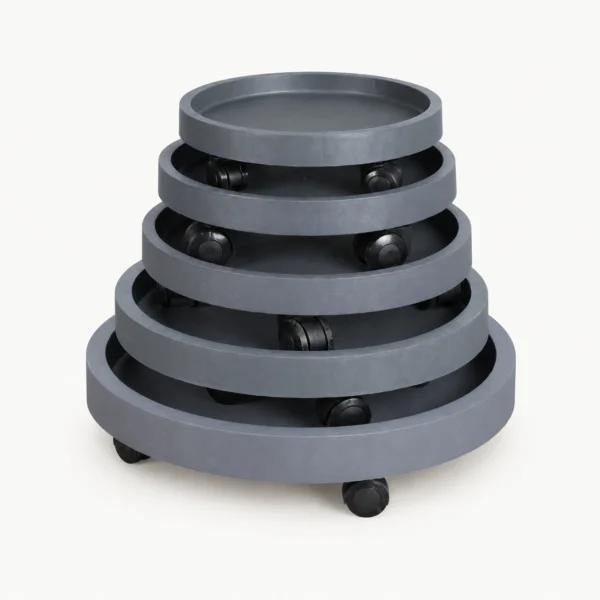
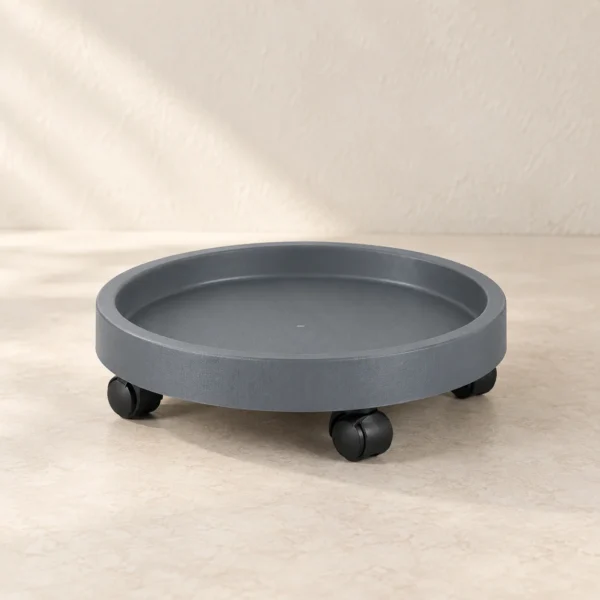
A drip tray collects water leaving the pot, but excess water still needs to be emptied after watering. Check the pot base, supporting dimensions and stability before buying; a tray does not drain itself.
- White wheeled drip tray: The white wheeled drip tray can accompany a light-coloured planter. Provide the pot details so that the fit and routine for emptying it can be confirmed.
- Grey wheeled drip tray: The grey wheeled drip tray offers another colour option. Check it for standing water and do not leave the growing pot soaking.
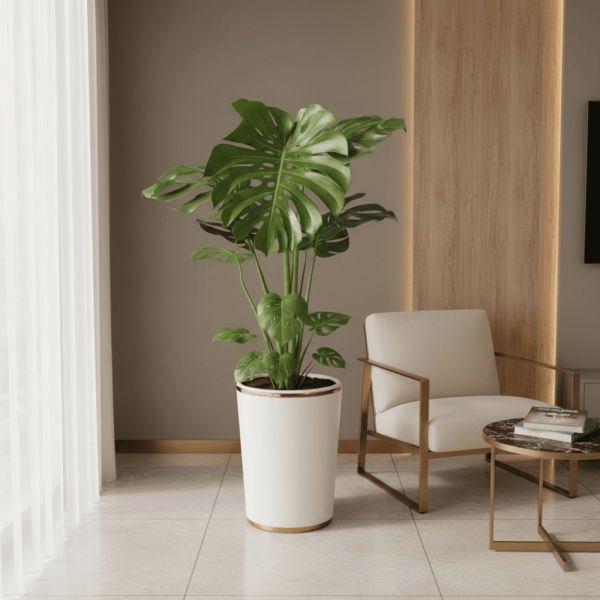
- Monstera: When choosing a decorative outer pot for a monstera, retain a growing pot with drainage holes and match the outer pot to its actual dimensions, rather than planting directly into a sealed container.
Featured

Monstera Deliciosa
Monstera Deliciosa — A large, 130–150cm indoor plant with sculptural split leaves that brings confident tropical form to living rooms, offices and entrances.
- Best in bright, indirect light; avoid harsh afternoon sun
- Let the compost become almost dry, then water thoroughly and allow it to drain
Hong Kong care guide: Monstera Deliciosa (light, watering & common issues)
Before & after purchase · Plantshop Care Encyclopedia
