



Start wide, then move closer
The camera moves straight towards the yellowest leaf. It captures the colour, but leaves out the questions someone else needs to ask: where the leaf sits, how many others are affected and whether an air-conditioning outlet is just beyond the frame.
In this article
Build a short sequence: the original setting, whole plant, affected area, both leaf surfaces, pot and mix. Add the recent care history. Clear photographs help narrow the next check, though they cannot establish every pest, root or water-quality problem. Start with the context, then move close enough to show the detail.
Give each photograph a job
| View | Include | What it helps establish |
|---|---|---|
| Original setting | Window, obstructions, position and nearby equipment | Environmental context, not a light measurement |
| Whole plant | From the container base to the top of the crown | Distribution of symptoms and overall posture |
| Affected area | Normal and changed leaves on the same section | Extent, position and contrast |
| Both leaf surfaces | The same leaf front and back, in focus | Spots, deposits or visible insects |
| Pot opening and mix | Surface, stem base, inner and outer pots | Container arrangement and surface condition |
| Drainage | Safely visible holes, saucer or standing water | Where water goes, without lifting a heavy pot for a picture |
Keep the colour and detail honest
Use bright, soft daylight where practical. Avoid backlit silhouettes, coloured lamps and reflections that hide marks. Tap to focus on the relevant surface, then enlarge the photograph to check it. Leave out beauty filters, colour effects and AI reconstruction of details that were not captured.
Keep lighting comparable across the set so normal and affected areas can be compared. If a better-lit spot is needed for detail, photograph the original setting first and explain where the close-up was taken.
Add the short history a photograph cannot show
Add the history in a few useful lines. Give the name from the label or order if identification is uncertain. Note when the change first appeared, the last watering and method, any move, repotting, feeding or spray, and whether the symptoms are continuing. An honest “not sure” is better than a guessed date.
A record might read: “Two lower leaves began yellowing on Monday. Watered on Saturday and emptied the cover pot. Moved away from the window two weeks ago. No sprays. One more leaf changed today.” It gives the person helping a sequence to investigate, without deciding in advance which event caused the change.
Do not disturb the evidence to complete the set
Do not pull out an otherwise stable plant merely to photograph its roots, wipe away a suspect insect before asking what it is, or try several treatments before recording the problem. If root inspection may help, first establish whether it is warranted and how to minimise disturbance.
Photographs cannot convey smell, pot weight, moisture inside the rootball or the pace of change. Describe those observations separately. Something absent from the photograph is not necessarily absent from the plant. If pests are suspected, keep foliage clear of neighbouring plants during photography.
Share the plant, not the room’s private details
Check home pictures for letters, door numbers, people and reflections; exclude screens, whiteboards and documents at work. Crop irrelevant areas while preserving the window and spatial relationships needed for context. Do not alter the plant itself.
Label files in order, such as “01 setting”, “02 whole plant”, “03 leaf front” and “04 leaf underside”, and send them with the timeline. Record any subsequent check and its date. Repeat photographs from similar angles and in comparable light so new changes are easier to see.
Will clear images produce an immediate answer? Not always. Good evidence reduces confusion, but identification, an in-person examination or further observation may still be needed. Where several causes remain possible, establish the next useful check rather than treating them all at once.
Plan photographs around the plant’s structure
If you own one of these plants, use its form to plan your photographs. The product links help with names and appearance; they cannot diagnose your specimen.
- Fiddle-Leaf Fig: Prominent veins provide a useful reference in a close-up. Add branch-tip and whole-plant views to show how any marks are distributed.
- Madagascar Dragon Tree: Several stem-top rosettes can be missed in one close-up; include the crowns and stem base to show the distribution.
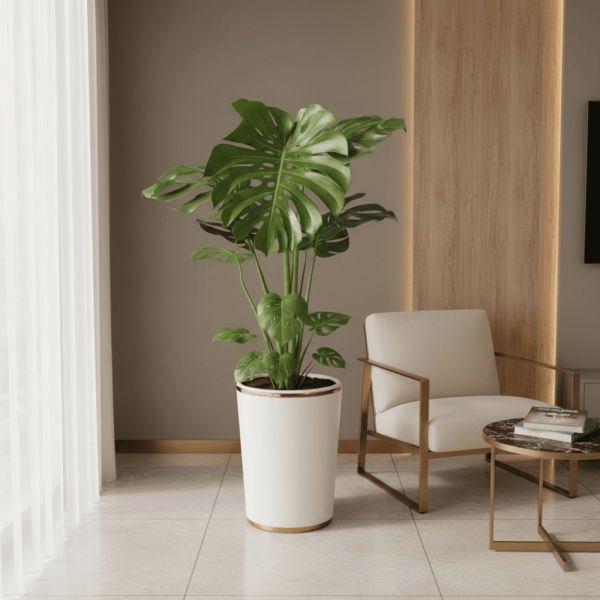
- Monstera Deliciosa: Show a complete stem section before the detail so leaf stalks, nodes and aerial roots can be distinguished.

Featured

Fiddle-Leaf Fig
Fiddle-Leaf Fig — Large, violin-shaped leaves on an upright stem; it grows best in a steady, bright position.
- Light: Bright indirect light to gentle sun; keep the position stable.
- Watering: Water after the top 3–5 cm dries; reduce in winter or low light.
Hong Kong care guide: Fiddle-Leaf Fig (light, watering & common issues)
Before & after purchase · Plantshop Care Encyclopedia
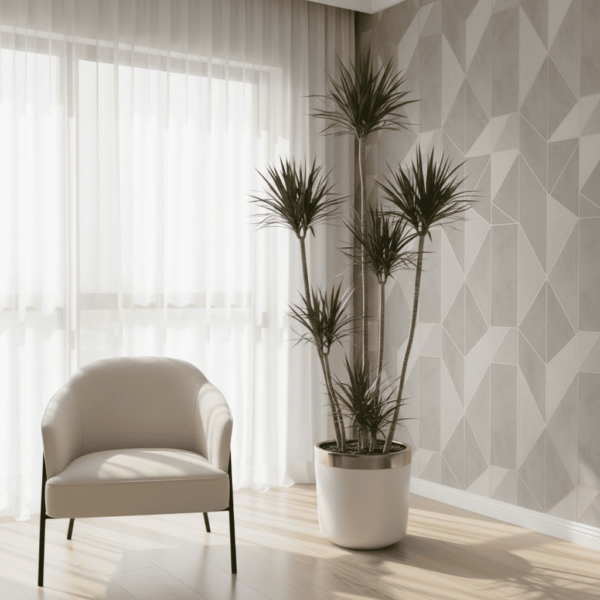

Madagascar Dragon Tree
Madagascar Dragon Tree — Slender canes topped with narrow, deep green leaves edged in red.
Hong Kong care guide: Madagascar Dragon Tree (light, watering & common issues)
Before & after purchase · Plantshop Care Encyclopedia
Featured

Monstera Deliciosa
Monstera Deliciosa — A large, 130–150cm indoor plant with sculptural split leaves that brings confident tropical form to living rooms, offices and entrances.
- Best in bright, indirect light; avoid harsh afternoon sun
- Let the compost become almost dry, then water thoroughly and allow it to drain
Hong Kong care guide: Monstera Deliciosa (light, watering & common issues)
Before & after purchase · Plantshop Care Encyclopedia
